Sunday, April 8, 2012

Happy Easter!

 Hope you all had a wonderful Easter!!!  We just got home from a weekend trip to see family.  We had a great time!  Here are the fun Easter cookies I did last week.


 I was given very specific instructions from the Easter Bunny to make some cookies for the 7 great grandkids in our family :)


I did these last month and hadn't posted them.


I LOVE doing the plaid!

Happy Easter! 


Thursday, March 29, 2012

Happy Birthday Laurie!

Yesterday my friend Kelly had us over for a surprise party for Laurie!  We had so much fun and Laurie had no idea :)  I wanted to make some cookies for the party (of course!!)
 I have found so many new ideas lately, thanks to Pinterest!  I could just spend hours on there.  There are SO many amazing cookie decorators and I've enjoyed getting some new ideas.
I found this tutorial (and saw her amazing cookies) and knew I had to try this "tuft" technique.  I am in love with it!  You can't see it very well in the picture because it's black (and because I haven't mastered this technique!) but I really like how they turned out.  I'm excited to try them in different colors for baby cookies, wedding cookies, lots of ideas!


I saw these amazing cookies and thought I could do some with the colors I was using.  Mine don't have as much detail but these were so fun to do!


Lastly, what's a party without a cupcake cookie?  Usually I just do sprinkles on the white part but I found these cookies and loved the writing on the cupcake along with the swirls.  Since we were doing black and white, I thought I'd add a little color to them with a flower.  In the top picture, you'll notice the pink flower didn't hold it's shape.  The icing was a lot thinner than I thought and it kinda flattened out.  But then I thought it was still cute so I didn't redo them. 

Oh and just a little note about black icing (or any darker color), most of the time it will get blotchy like the you can see in the cupcake...unless you live somewhere with low humidity (I live in Arkansas where we hardly have a day with low humidity.)  Or you could use a dehumidifier while your cookies are drying but I don't have one so I just live with the spots.  Actually, they will usually just turn the darker color after a day or so.  This picture was taken the day before and the spots were gone by the party!  So just make them a day earlier than you want to serve them and they should be fine.


Happy birthday Laurie!!!!

Wednesday, March 7, 2012

How I Ice my Cookies

I've had many people ask me how I ice my cookies so I thought I'd take pictures as I worked on some. I just want to say that there are many icing tutorials out there and that this will probably not be the best one you've read :) But hopefully it might answer some questions.

Also, this is just how I do it. I've read a lot of other blogs and tried some different tips and techniques, some work for me and some don't. But this is the way I like to do it. So if you're wanting to try, I encourage you to just jump in and get started! Then as you do it more, you'll find little things that work better for you.

Ok, here goes...

Here is the royal icing recipe I use. I usually double the recipe so that I'll have plenty of icing. When you're coloring it, it's not fun to try to match the colors if you have to make more.

This is what the icing will look like after it's done. It will be very stiff and thick.

I like to separate the icing into the different colors I'm using. Then I add just a little bit of water to it to make it easier to pipe on the cookie. It needs to be glossy and smooth and the peaks should curl down just a little bit. This is one of those things that the more you do it, you'll get a better idea of the consistency you need.
Ok, so this is probably the best tip I've learned through my whole cookie making experience! When I saw this video, it changed my life. Ok so that's a bit dramatic but seriously, this makes cleaning your icing bags so simple! Here is the video but I'll show you in pictures too. The video is probably a lot better! So first you lay out a piece of plastic wrap. Then put your icing in the middle. This is the icing that you're going to pipe on the cookie to outline them. (This plastic wrap is red because I got it at Christmas)

Then roll over the sides on top of each other.
Then take the ends with both hands and you'll lift up the icing and you'll move your hands in a circular motion and you'll end up with it like this. (This is where you might want to watch the video, I can't think of a way to describe that part!)
Couplers

These are couplers that are wonderful to use! It makes it possible to change icing tips on the bag so you don't have to have multiple bags for a different size tip. You can find these at Walmart, Hobby Lobby, and other craft stores.

You put the large part down into the decorating bag (also at the stores above) after you cut the bag to fit it.

Then you'll put one end of the plastic wrap down into the bag and pull it through until the icing is at the end of the coupler.
Then cut off the end of the plastic wrap.

Then put your tip over the coupler and then screw the smaller part of the coupler on there. Now you're ready to start piping on the cookies! (When you're done with the icing, just pull the other side of the plastic wrap out of the decorating bag and throw it away! SO much easier than putting the icing straight into the bag and having to wash it out!)

Oh and I use a #3 icing tip to outline.

To get started, I twist the top of the bag and then I squeeze to get the icing into the icing tip. To pipe on the cookie, just put the icing tip down where you want to start and slowly squeeze the bag. I use my left hand to just help me guide it and to keep my hand from shaking.

I like to lift the icing up as I go so it makes a smooth line. If you keep it real close to the cookie, it's not as straight and also the icing tip kinda messes up the line if it touches it as you go.
Then just keep going until you get back to where you started.
And then when you get to your starting point, just touch the icing where you started and stop squeezing and lift up. Then finish the rest of your cookies! Sometimes I'll mess up and need to scrape it off, which is really easy to do. Then just start over!

Now it's time to work on your "flood" icing. This is what you'll use to fill in the outline you've made. I add just a little bit of water at time to the icing until I get the consistency that I want. You want it to be about the consistency of syrup. Again, the more you do it, the better you'll get at knowing how it should be. Hopefully this picture gives you an idea.

Let it sit for just a few minutes so the air bubbles rise to the top. Then just stir it to pop them.
I like to use these squeeze bottle to flood the cookies.

I can't believe I was able to take this picture while I was pouring the icing without making a huge mess! But anyway, there's no real trick to getting it in the bottles, it gets a little messy!
Then just start filling in. I like to go around the edges first.


Then fill in the rest of it.

Let it sit for just a minute or 2 and then pop any air bubbles that you see.

I like for them to dry overnight and then you can do your details the next day. For the details, I use the same icing consistency that I used to outline the cookies.

So there you go! Hopefully that made a little bit of sense :)

Pin It

Monday, March 5, 2012

M-I-C-K-E-Y

Last weekend we had my son's family birthday party. He is VERY into Mickey Mouse right now, which is good because we just booked our trip to Disney World this summer! He is going to love it!
I thought I would try something different with the cookies this time. My family eats my cookies all the time so I thought I'd change it up for them :) I also wanted to try a chocolate sugar cookie recipe. I used a recipe from Joy of Baking

Chocolate Sugar Cookies:
2 3/4 cups (355 grams) all purpose
3/4 cup (75 grams) unsweetened Dutch processed cocoa
powder
1/2 teaspoon salt
1 teaspoon (4 grams)baking powder
1 cup (227 grams) unsalted butter, room temperature
1 3/4 cups (350 grams) granulated white sugar
2 large eggs
2 teaspoons pure vanill extract

For Chocolate Sugar Cookies: In a large bowl whisk together the flour, cocoa powder, salt, and baking powder.

In the bowl of your electric mixer (or with a hand mixer), beat the butter and sugar until light and fluffy (about 3 to 4 minutes). Add the eggs, one at a time, beating well after each addition. Add the vanilla extract and beat until combined. Add the flour mixture and beat until you have a smooth dough.

Divide the dough in half and wrap each half in plastic wrap. Refrigerate for about one hour or until firm enough to roll.

Preheat oven to 350 degrees F (177 degrees C) and place rack in the center of the oven. Line two baking sheets with parchment paper.

Remove one half of the chilled dough from the refrigerator and, on a lightly floured surface, roll out the dough to a thickness of 1/4 inch (1 cm). (Keep turning the dough as you roll, making sure the dough does not stick to the counter.) Cut out desired shapes using a lightly floured cookie cutter and transfer cookies to the prepared baking sheet. Place the baking sheets with the unbaked cookies in the refrigerator for 10 to 15 minutes to chill the dough which prevents the cookies from spreading and losing their shape while baking.

Note: If you are not going to frost the baked cookies, you may want to sprinkle the unbaked cookies with crystal or sparkling sugar.

Bake cookies for about 10 - 12 minutes (depending on size) or until they are firm around the edges. Remove from oven and let cookies cool on baking sheet for a few minutes before transferring to a wire rack to finish cooling. Frost with royal icing, if desired. Be sure that the frosting on the cookies dries completely before storing. (This may take several hours.) Frosted cookies will keep several days in an airtight container. Store between layers of parchment paper or wax paper.

Makes about 36 - 4 inch (10 cm) cookies.


Read more: http://www.joyofbaking.com/ChocolateSugarCookie.html#ixzz1oGoIuw4B

The cookies were very good! I will definitely make more of these in the future.


Instead of using Royal Icing like I normally use, I thought I'd use fondant. I use the recipe I found at Bake at 350. To cover the cookies with fondant, I found this tutorial that I've used many times and it's so fun and easy.
I also made some cheese crackers in the shape of Mickey :) Here's the recipe. I just used the bigger circle cutter and made some smaller circles and then pressed them into the bigger one on the baking sheet. It didn't take much time at all and I think they turned out cute.

I also made some funfetti cake batter buddies. Oh. My. Goodness these are so good!!!
Caleb loves chocolate chip cookies so I thought he would like a cookie cake. I tried to make my own but it did not turn out at all. Anyone have a good recipe? So we got this one from the store. It had some icing and sprinkles on it but it didn't go with the colors I was using so I scraped it off and used my own.

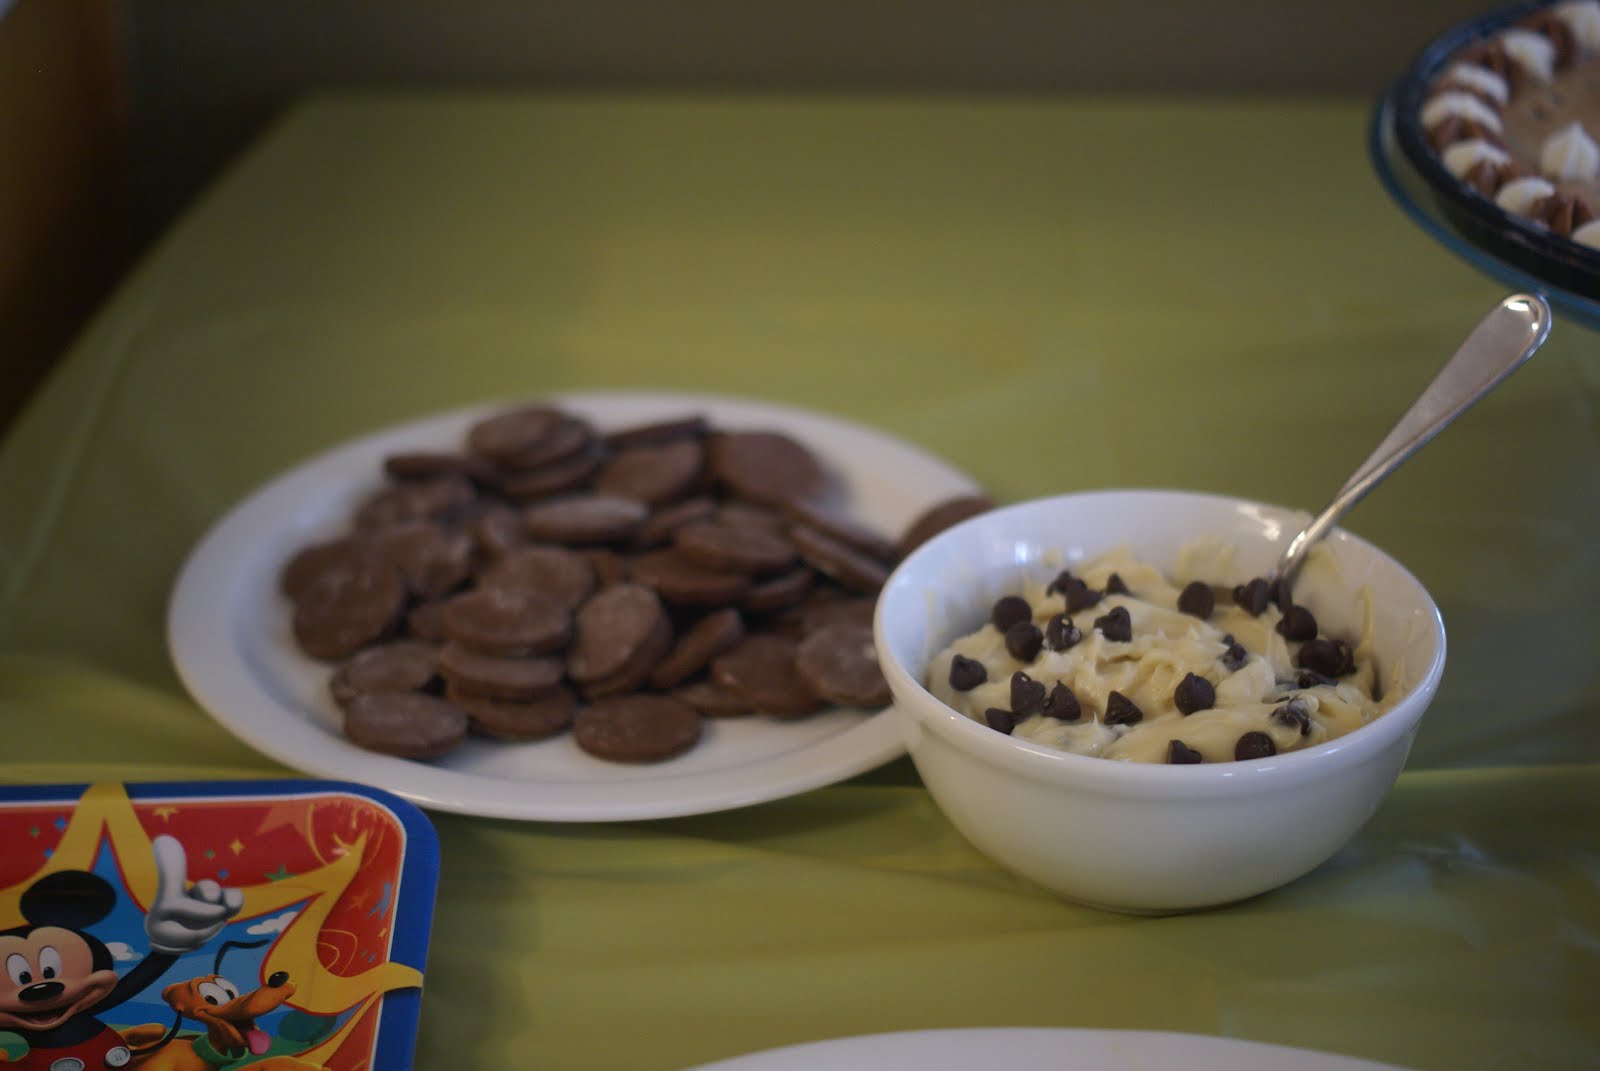
I made this cookie dough dip at Christmas and thought that would be good to have too. It's so good! And the cookies to go with it are from The Pioneer Woman, also very good!
I also made some pizza bites but forgot to take a picture of them. They were gone very quickly!
And some more fun water bottle labels :)

Ok so I finally took pictures to show how I ice my cookies. I'm working on it now so it will be up very soon!

Pin It

Tuesday, February 21, 2012

Thomas the Train

My son's 3rd birthday party was on Saturday and we had a Thomas theme. He loves Thomas! Here are the cookies I did:
I originally saw the idea here quite a while ago and thought if we had a Thomas party that I would make them. They were so fun! I'll show you the cookie cutters I used at the end of the post. My little "expert" was able to tell me who he was when he first saw the cookies so I took that as a compliment :)
I made some cupcakes too, I used a box mix but made the buttercream icing.
I had so much fun planning this party! I enjoy crafting and designing so this was perfect for me. Since my daughter was in the hospital the week before, I had to cut a few things out that I wanted to do. But here were the little favor bags with the cookies wrapped up inside.
I made these water bottle labels and they were so easy! When I first looked into how to make them, I saw that most people use waterproof labels. But I saw this tutorial and realized I could make my own! So I just printed these out and cut them and then used packing tape to seal them. Like she says in the tutorial, they're not completely waterproof. I had kept them in the fridge until right before the party and then put them in the ice chest and they worked great!
So here are the cookie cutters I used. The engine part is a wedding cake cutter and I used the small circle cutter and did the same technique as I used here on the rainbow cookies. Then the larger circle cookies is the face. I baked and decorated them separately and then when the cookies were dry, I used royal icing to attach them to the engine part of the cookie.


We're having his family party this weekend and I'm doing a different theme. It's his newest favorite...a certain little mouse with big yellow shoes :) I'm excited to plan for that one too!

Monday, February 13, 2012

Happy Valentine's Day!

Here are some Valentine cookies I did last week. My friend Jill saw a picture of them somewhere but I'm not sure where, otherwise I would say where I got the idea!

I just barely got these done before my daughter was in the hospital for 4 days. We found out she had RSV at the end of last week and over the weekend it got a lot worse. She was admitted to the hospital on Monday and got to come home on Friday. It was very scary for a few days but she's doing much better now! I was looking forward to doing more Valentine cookies and some baby shower cookies last week but I just wasn't able to.

Happy Valentine's Day!

Wednesday, February 1, 2012

Somewhere Over the Rainbow

Last week I did some cookies for my friend Amy's daughter's birthday. She had a Wizard of Oz theme. Kelly took some really cute pictures from the party. It turned out so cute!!! All of Amy's parties are so adorable. You can see Kelly's post here.
I didn't have a rainbow cookie cutter so here's what I did:
I couldn't find my big, plain circle cutter so I used this scalloped one, which I thought would be cute anyway.
Then I used a small circle cutter and cut a half circle out of the big circle. I did that on both sides straight across from each other. I didn't measure or anything, just eyeballed it. Then I cut a whole circle out of more dough...
And filled the little notches. I did this on wax paper on the counter but it's better to do this on the cookie sheet that you're going to bake them on because they will fall off when you move them. Then I just kinda smoothed them together so they would bake together.
This picture is a little blurry but then I cut off the bottom part of the big circle at the bottom of the little circles. And there you have it, a cookie ready to be made into a rainbow!